
How to Install Ubuntu 22.04 on Virtual Machine in Windows (Step-by-Step Guide for Beginners)
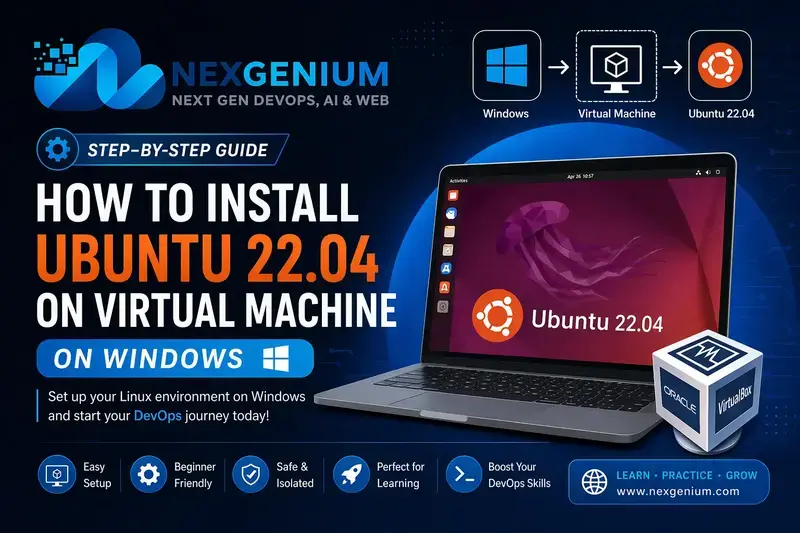
🖥️ How to Install Ubuntu 22.04 on Virtual Machine (Windows) – Step-by-Step Guide
If you're starting your Linux or DevOps journey, installing Ubuntu on a virtual machine is the safest and easiest way to practice—without affecting your main system.
In this guide, you’ll learn how to install Ubuntu 22.04 on Windows using a Virtual Machine step by step.
📌 What is a Virtual Machine?
A Virtual Machine (VM) allows you to run another operating system (like Linux) inside your current OS (Windows) without dual booting.
👉 Popular tools:
- Oracle VM VirtualBox (Free)
- VMware Workstation Player (Free for personal use)
🧰 Prerequisites
Before starting, make sure you have:
- ✅ Windows 10/11 system
- ✅ Minimum 8 GB RAM (4 GB works but slow)
- ✅ 20 GB free disk space
- ✅ Virtualization enabled in BIOS
📥 Step 1: Download Required Files
1. Download VirtualBox
Go to the official website and download:
👉 https://www.virtualbox.org/
2. Download Ubuntu 22.04 ISO
👉 https://ubuntu.com/download/desktop
🖼️ VirtualBox Setup Interface
⚙️ Step 2: Install VirtualBox
- Open downloaded
.exefile - Click Next → Next → Install
- Allow network permissions
- Click Finish
🖥️ Step 3: Create a New Virtual Machine
- Open VirtualBox
- Click New
- Fill details:
- Name: Ubuntu 22.04
- Type: Linux
- Version: Ubuntu (64-bit)
🧠 Step 4: Allocate Memory (RAM)
- Minimum: 2048 MB (2 GB)
- Recommended: 4096 MB (4 GB)
👉 More RAM = better performance
💾 Step 5: Create Virtual Hard Disk
- Select: VDI (VirtualBox Disk Image)
- Storage: Dynamically Allocated
- Size: 20–40 GB
📀 Step 6: Attach Ubuntu ISO File
- Select your VM → Click Settings
- Go to Storage
- Under Controller IDE → Click Empty
- Click disk icon → Choose ISO file
- Select Ubuntu ISO
🚀 Step 7: Start Installation
Click Start → Ubuntu installer will load
🖼️ Ubuntu Installation Screens
⚙️ Step 8: Install Ubuntu
Follow these steps:
- Select Try or Install Ubuntu
- Choose language
- Select Normal Installation
- Check:
- Install updates
- Install third-party software
- Select: Erase disk and install Ubuntu
(Safe because it's inside VM) - Set:
- Username
- Password
- Click Install
⏳ Step 9: Complete Installation
- Wait 10–20 minutes
- Click Restart Now
- Remove ISO when prompted
🎉 Step 10: Ubuntu is Ready!
You now have Ubuntu running on your Windows system 🎯
⚡ Post Installation Tips
- Install Guest Additions for better performance
- Increase RAM/CPU if system is slow
- Enable full-screen mode
- Practice Linux commands daily
❗ Common Issues & Fixes
🔴 Ubuntu not starting?
➡ Enable virtualization (VT-x/AMD-V) in BIOS
🔴 64-bit option not showing?
➡ Enable virtualization + disable Hyper-V
🔴 Slow performance?
➡ Increase RAM & CPU cores
🎯 Why Use Virtual Machine?
- Safe learning environment
- No risk to Windows OS
- Perfect for DevOps & Cloud practice
- Easy to delete/reset
🚀 Conclusion
Installing Ubuntu on a virtual machine is the first step toward mastering Linux, DevOps, and Cloud technologies.
🔥 Want Professional Training?
Learn Linux, DevOps, Cloud & AI with real-world projects 👇
📧 Contact: [email protected]
About NexGenium
Senior Solutions EngineersNexGenium technical practitioners providing production-grade engineering, cloud infrastructure solutions, and industry training.